I’ve always loved dot matrix printers. Today it’s possible to easily use them on Linux, even if they are very old. Recently I became interested in printing multi-page banners, a popular task back in the days: I do that nowadays with an Amiga, but using a modern Linux gives access to more fonts and to all the clip-art you can get on the Internet.
If you are interested in printing banners, or just curious, read ahead.
It’s also worth checking this Veronica Explains video about printing dot matrix nowadays.
Dot Matrix printers
Dot matrix printers are just incredible. Granted, they are slow and noisy, and quality of print is nowhere near the one of a laser, but they have their own good points.
It’s fascinating to see how printing actually happens, with the rows which appear one after another: taking a look at the printing head is also very instructive, as you understand how the ink is transferred to paper. They’re not a closed box like modern lasers or inkjets.
New dot matrix printers are sold even now, as they are still used in some business environments. However, maybe shelling out 500-700 Euros can be a bit steep, so why not use an old printer? They still work fine after 30 years, and using old hardware can be sustainable choice.
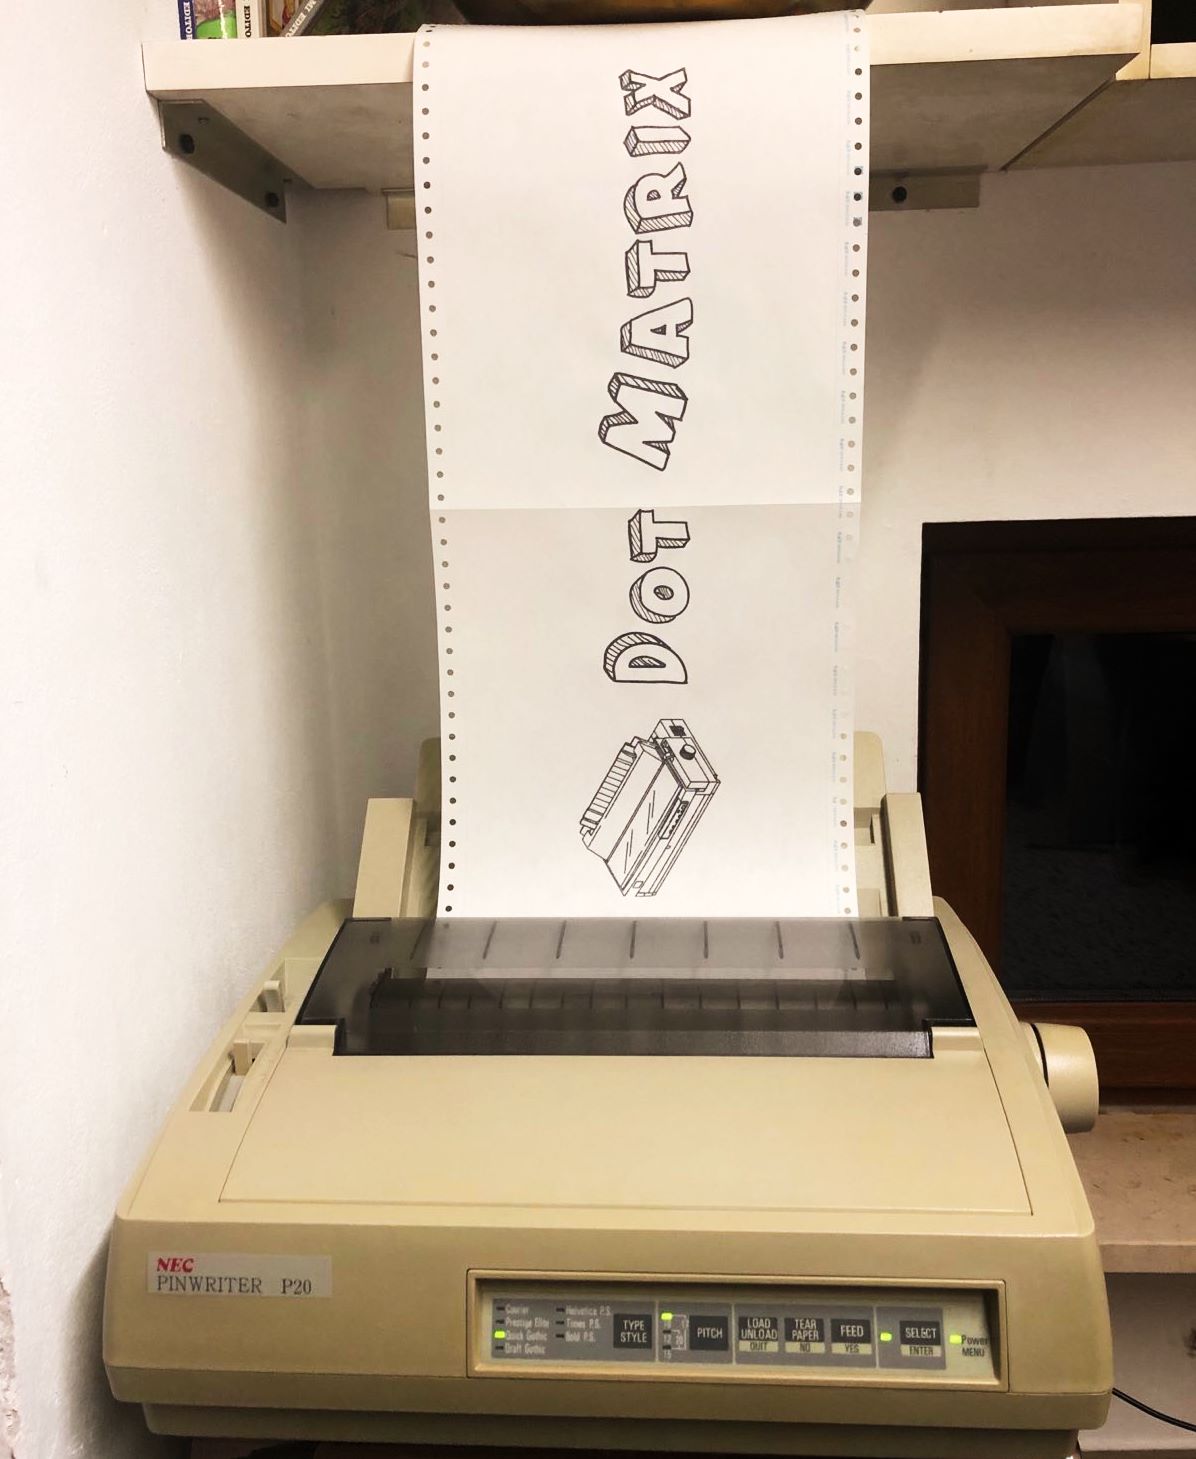
For this article I’m using a NEC Pinwriter P20, a printer I’ve owned since when it came out in 1992. It’s a parallel printer of course, but a USB-to-Centronics cable costs just 10-15 Euros and does its job nicely. Also, it’s very easy to find ink ribbons for such printers.
It works surprisingly well with Linux (Pop!Os 22.04): CUPS automatically sees it once connected, even though you have to choose the driver manually: there is the PPD a driver for NEC PinWriters, so once chosen from the list the printer just works, and you can print anything as if it were a laser. Awesome, if not unbelievable, for a 30-year-old printer.
Printing a banner on multiple sheets of continuous paper, however, is another matter, as it’s non-obvious to have it come out as expected.
Paper sizes
If you are in Europe, like I am, you may only know of A4 as paper size for printing on a computer, which is the format 99% of people use nowadays. However, it has not always been that way.
Until mid-90s, when dot matrix printers began to go out of fashion, US Letter (8.5” x 11”) was widespread across Europe. Why? Because continuous computer paper was available in that size, at least for standard 80-columns printers.
The continuous paper is actually 9.5” x 11”, because it has the side strips for the tractor. In Europe the format is better known as 24 x 11”, where 24 is the width in centimeters (including side strips) and 11 the height in inches. A bizarre side note: the width is expressed in centimenters and the height in inches.
If you are interested in more information about US Letter paper size, take a look at this video.
Creating a banner
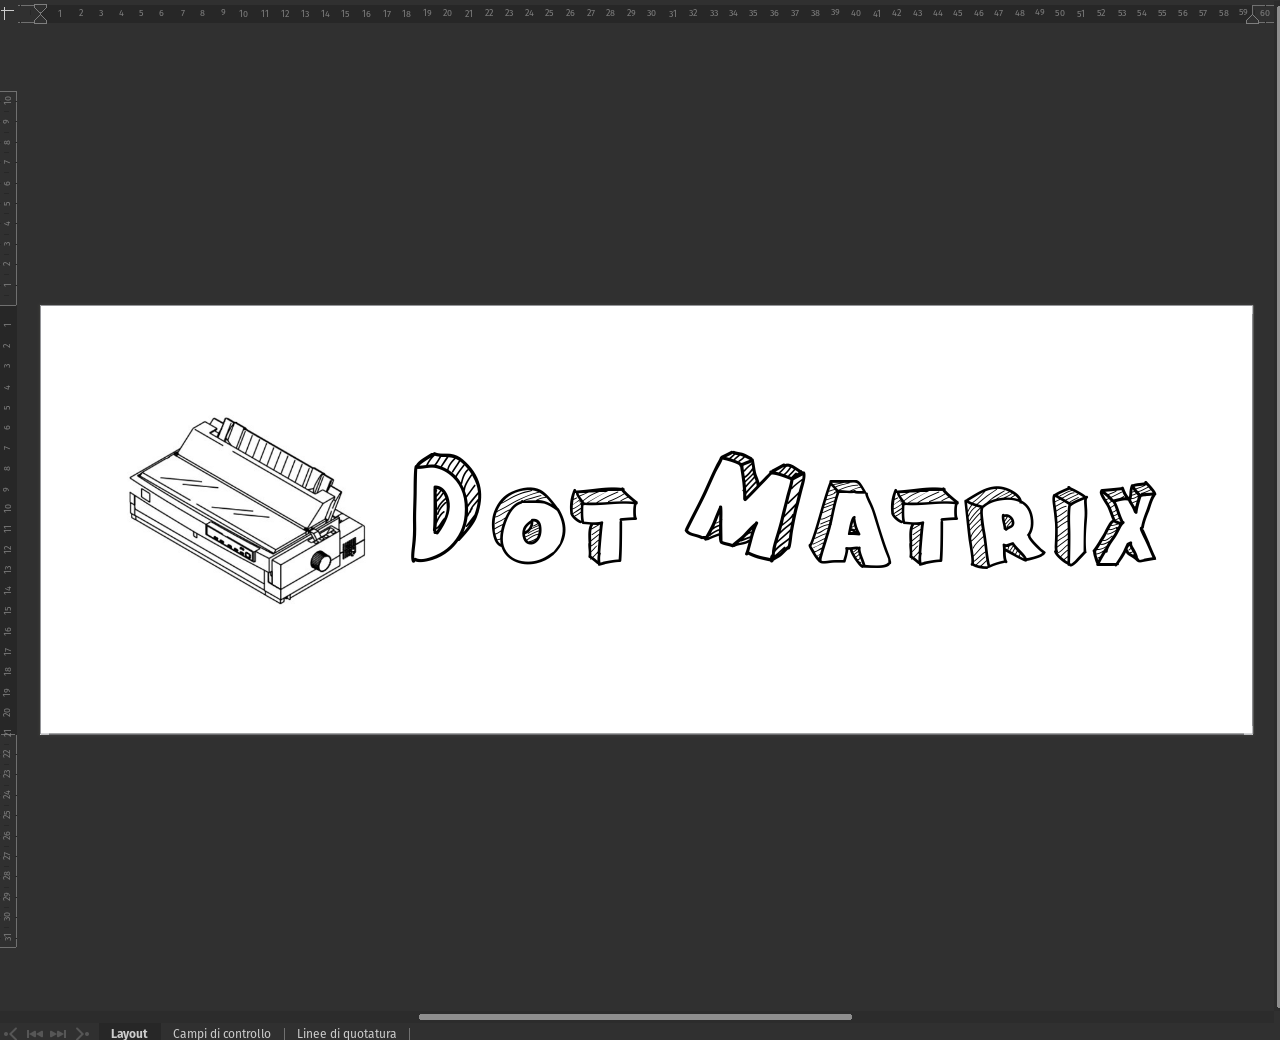
I’m using LibreOffice Draw these days, which does its work well.
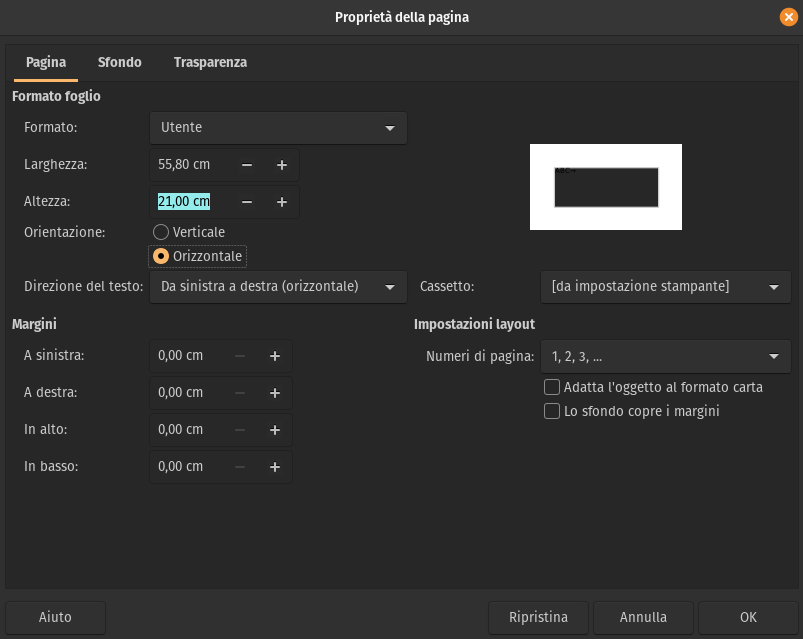
First off, we have to set the page size, creating a user-defined one. This depends on how many sheets you want the banner to occupy: the longer, the nicer… but it also takes longer to print and more ribbon ink. 😉
A good idea is to set the page in Horizontal (landscape) orientation, so reverse width and height, so that you can easily see what you are writing, and you get a better idea of the final result.
| Format | Width (mm) | Height (mm) |
|---|---|---|
| 1 sheet (US Letter - Horizontal) | 279 | 210 |
| 2 sheet (US Letter - Horizontal) | 558 | 210 |
| 3 sheet (US Letter - Horizontal) | 837 | 210 |
| 4 sheet (US Letter - Horizontal) | 1116 | 210 |
I recommend to set all margins to 0: dot-matrix printers can print right to the edges of the paper: that’s really cool, isn’t it?
You can download this banner here: in ODG format or PDF format.
The font comes from a fantastic web site with loads of fancy fonts, like the ones we used in the 90s… and they’re even free for personal use! Here’s the link to this awesomeness: 1001 Free Fonts.
Properly printing the banner
I found many suggestions on the web, which basically were down to “select the LO Draw option which allows to print across multiple sheets”. These methods do not work, because - even when I managed to not print a complete mess - form feeds are put between one page and the other, which make no sense when printing banners and create empty space, thus breaking the banner.
What you need to do is to create a custom page size for printing, which is as big as the banner: exactly the same thing we did earlier for the page in LibreOffice Draw: now it has to be done in the printing dialog as well.
Now the problem is that LibreOffice Draw uses itss custom printing dialog, which is a bit limited compared to the system one, i.e. it doesn’t allow you to enter a custom paper size in the printer configuration.
So, just save the banner in PDF format.
Open the saved PDF with your viewer. At present I’m using Evince Document Viewer, which is the default in Pop!OS, and choose the print function: this will open the printing dialog.
Just like LibreOffice, some viewers have their own printing dialog, which may not offer all the options of the system one. In my case it didn’t offer the option to set a custom page size, but luckily there was a button called Use system printing dialog which opened the full-featured one. LibreOffice Calc lacks this button, which makes it necessary to go through a PDF conversion.
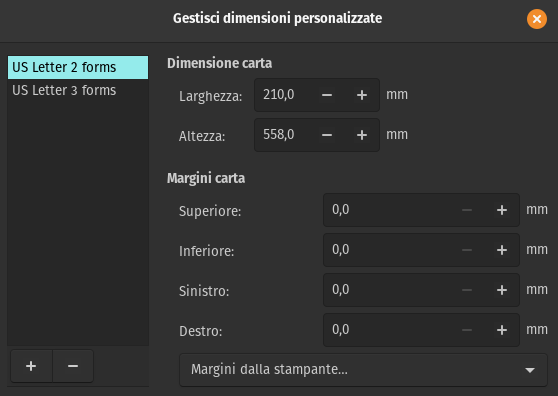
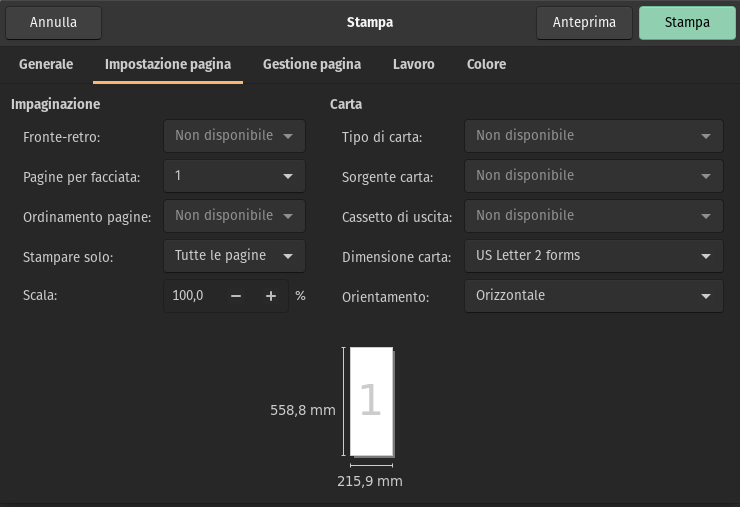
The important thing here is to set the page size: in the Page settings tab of the system printing dialog, look at the Paper size selector: inside it you can find a Manage custom sizes option, which opens another dialog. In this dialog you can add the size you need (the screenshots are in Italian language, sorry).
As before, I’d set all margins to 0.
The good thing is that of the above process is that you only need to add page sizes once: the system will then remember them. The bad thing is that LibreOffice custom dialog won’t see them anyway, so you still need to use PDFs.
Ça va sans dire, you need to select Horizontal (landscape) orientation. Printing begins from the end (like in my photo). I actually found out that (in some cases I am still investigating) this setting adds unwanted white lines before printing something, so I recommend Reverse horizontal, which prints from the beginning instead (basically, the banner is rotated 180 degrees before being sent to the printer).
Happy banner printing!